Gordon Ramsay Shrimp And Grits Recipe took me on an exciting culinary journey. The first time I attempted this dish, I ended up with overcooked shrimp and grits that were more like mush than creamy comfort. I can still remember the disappointment, standing at my stove, watching my dreams of a perfectly seared shrimp and silky grits evaporate into thin air. But there was a moment—amidst the chaos of sizzling shrimp and aromas that tantalized my senses—when everything clicked. I learned that this dish is all about the balance of heat control, timing, and building flavor. Once I nailed those elements, I forever changed how I approached not just this recipe but my cooking journey as a whole. Follow along as I promise to arm you with the knowledge to master this technique and elevate your home cooking like never before.
The Real Reasons The Gordon Ramsay Shrimp And Grits Recipe Flops
Improper Heat Control
When cooking shrimp, it’s all about the right temperature. Too high, and you get that rubbery texture that no one wants. Too low, and you lose the beautiful sear. You need to find the sweet spot—medium to medium-high heat is often ideal for achieving those restaurant-quality results.
Neglecting Seasoning
Many tend to underestimate the power of seasoning. If you don’t apply salt and pepper effectively, your shrimp will taste bland. A solid seasoning mix goes beyond just salt; think herbs and spices that will build layers of flavor in every bite.
Skipping the Resting Phase
After cooking, shrimp need rest. Letting them sit for a couple of minutes allows the juices to redistribute and enhances the texture. Skipping this crucial step can leave you with overcooked shrimp when they should be juicy and succulent.
Timing Miscalculations
Cooking shrimp requires precision. They cook extremely quickly—sometimes just under three minutes—so you need to keep a close eye on them. Overcooking is the enemy. Learn to trust your instincts and develop a knack for perfect timing.
Incorrect Pan Choice
A non-stick pan may seem appealing, but for a perfect sear, a stainless steel or cast iron pan is your best bet. The chemistry between the shrimp and the hot surface creates that coveted crust. Don’t shy away from a bit of fat to aid in the cooking process.
What Gordon Ramsay Stresses in His Technique
Gordon Ramsay emphasizes a straightforward philosophy: “color equals flavor.” It’s essential to develop golden crusts and vibrant colors in your shrimp, which come from disciplined and controlled heat. Basting with butter enhances flavors without distractions; you need a clear focus on the pan. Each ingredient should shine through, and the technique is where you concentrate on heat management and timing. Don’t overcomplicate it; keep it simple and execute with confidence.
How I Make It Work in My Home Kitchen
Staying true to Ramsay’s approach, I keep the integrity of the technique but adapt it to my space. I swear by a cast iron skillet for achieving a killer sear on shrimp. The beauty of using a heavy pan is that it retains heat and helps create that signature crust. I tweak by adding a touch more garlic and fresh herbs, which intensifies the aromatic profile. Rather than purely relying on a thermometer, I’ve developed a touch test that lets me gauge the perfect doneness of my shrimp. There are moments when I break the rules, maybe by adding a splash of citrus to brighten everything up, but I do this knowing exactly what I’m doing—enhancing flavors without losing Ramsay’s essential techniques.
Ingredients with My Notes
Main ingredients:
- 1 pound large shrimp, peeled and deveined
- 1 cup grits
- 4 cups water or broth
- 1/2 cup heavy cream
- 1 tablespoon butter
- 2 cloves garlic, minced
- Salt and pepper to taste
- Fresh herbs (like parsley or chives) for garnish
Optional finishing additions:
- Lemon zest
- Crumbled bacon
- Hot sauce
Step-By-Step Cooking Method
Start by preparing the grits. Boil water or broth in a pot, then slowly whisk in the grits. Cook on low heat while stirring frequently, usually around 20 to 30 minutes, until creamy. Add heavy cream towards the end for richness, and season with salt and pepper as desired. Once done, remove from heat and allow them to rest covered.
While the grits are converging into creamy perfection, focus on the shrimp. Heat your cast iron skillet over medium-high heat until it’s hot. Add a tablespoon of butter, then toss in the minced garlic. Let the garlic release its aroma but don’t let it burn.
Add the shrimp to the pan in a single layer. Don’t crowd them; give them space to allow for a proper sear. Cook for about 2 minutes before flipping them. You should see a nice golden-brown color developing. This color is essential for flavor.
As you cook the shrimp, keep basting them with the butter and garlic mixture. This is where those deep flavors come into play. Cook for another minute, just until they’re opaque. The internal temperature should reach around 120°F.
Once perfectly cooked, pull the shrimp off the heat and let them rest for a minute. This brief pause is crucial for maintaining their juiciness.
To finish, return to the grits. Give them a good stir and add extra seasoning if needed. On a plate, spoon out a generous amount of grits, followed by the succulent shrimp. Drizzle over any remaining garlic butter and top with fresh herbs. If you dare, add some lemon zest for a hint of brightness.
There you have it—the Gordon Ramsay Shrimp And Grits Recipe pulled off with precision and flair. Go forth and seize your culinary victory.

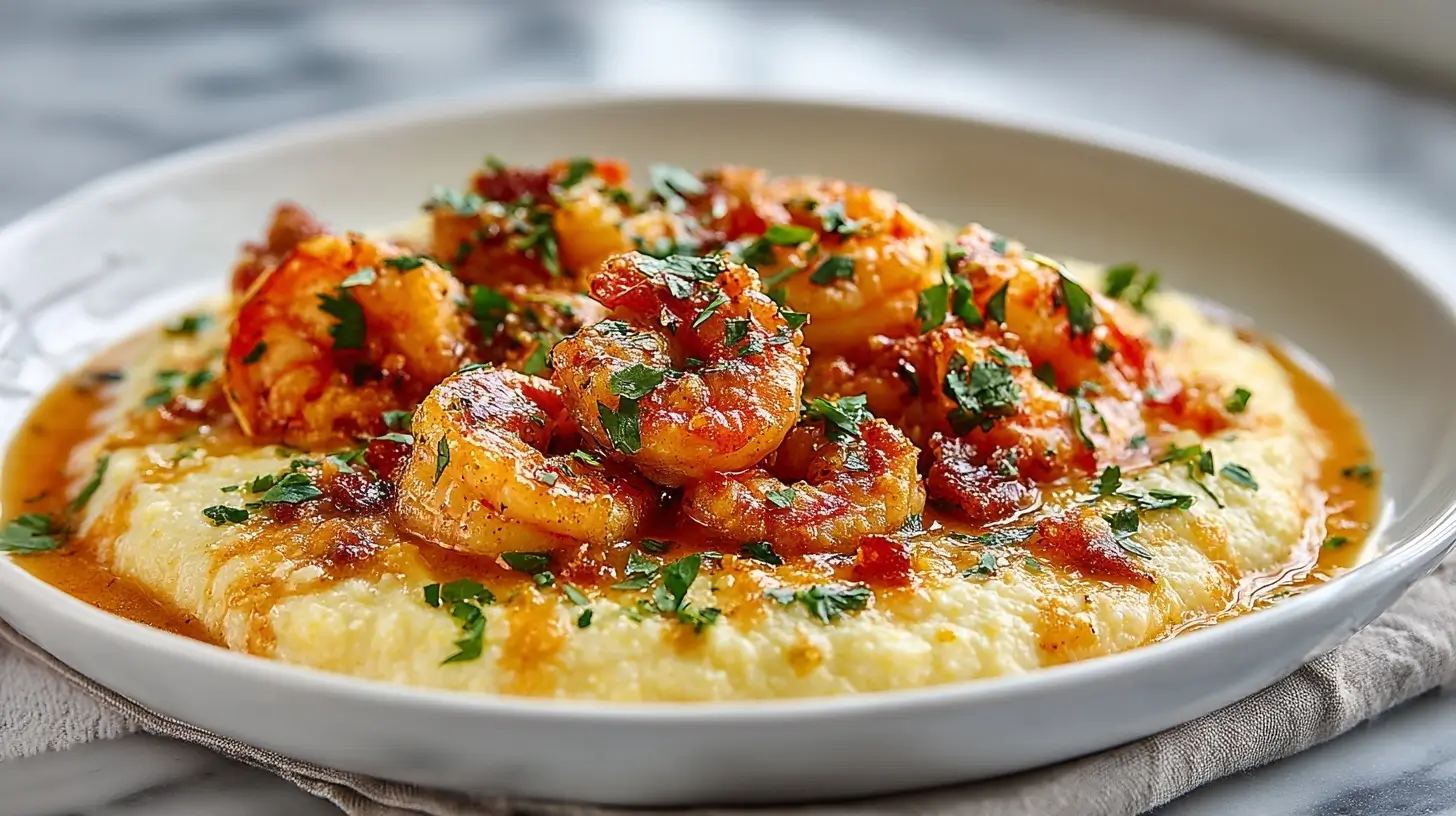
Gordon Ramsay shrimp and grits recipe
Rate this RecipeIngredients
Equipment
Method
- In a pot, bring chicken broth to a boil. Slowly add the grits, stirring constantly. Lower the heat and let it simmer for about 20 minutes until thickened.
- In a skillet, melt butter over medium heat. Add the minced garlic and sauté until fragrant.
- Add the shrimp to the skillet, sprinkle with paprika, salt, and pepper, and cook for about 5-7 minutes until the shrimp are pink and cooked through.
- Once the grits are cooked, stir in the cheddar cheese until melted and well combined.
- To serve, spoon the cheesy grits onto plates and top with the shrimp mixture. Garnish with sliced green onions.
Nutrition
Notes
Tried this recipe?
Let us know how it was!Perfect Pairing: From Shrimp to Lobster
For another seafood delight that showcases culinary finesse, consider trying Gordon Ramsay’s Lobster Pasta, where timing and technique are just as critical for achieving restaurant-quality results.
Comfort Classics: Chicken Pot Pie Influence
If you enjoy the essence of comfort food, explore Gordon Ramsay’s Chicken Pot Pie, which also emphasizes mastering cooking techniques and flavor layering for a hearty meal.
Elevating Seafood: The Art of Baking Salmon
Continuing your seafood journey, learn how to elevate your skills further with Gordon Ramsay Baked Salmon, where precision in cooking ensures a perfect, flaky texture.
Common Mistakes and How to Fix Them
Too much surface moisture on the shrimp
Ensure that you pat dry the shrimp with paper towels before cooking. This helps achieve a perfect sear without excess water causing steaming.
Inconsistent pan heat
Use medium-high heat for your pan and allow it to reach temperature before adding the shrimp. If the pan isn’t sufficiently hot, the shrimp will cook unevenly, resulting in a rubbery texture.
Flipping the shrimp too frequently
Let the shrimp sit undisturbed for the first 2-3 minutes on the heat to develop a nice crust. Frequent flipping will disrupt the cooking process and prevent that critical sear from forming.
Insufficient resting time after cooking
Allow the shrimp to rest for about 5 minutes off heat before serving. This allows juices to redistribute, enhancing the overall flavor and texture.
Techniques for Maximizing Flavor and Texture
Select a heavy-bottomed skillet
A cast-iron or stainless-steel skillet retains and disperses heat evenly, allowing for optimal searing. This is essential for achieving that restaurant-quality crust on the shrimp.
Establish a precise butter basting rhythm
Start basting with butter once the shrimp are nearly cooked through. This enriches the flavor and adds an appealing glimmer without overwhelming the dish with fat.
Start with shrimp at room temperature
Remove shrimp from the refrigerator about 30 minutes before cooking. This ensures they cook more evenly and helps to avoid the common pitfall of overcooking the exterior while the inside remains cold.
Employ a calculated resting logic
After removing the shrimp from the skillet, let them rest while preparing the grits. This allows the shrimp to stabilize their juices, resulting in a more succulent bite.
Slice the shrimp correctly
When preparing shrimp for serving, always slice in half lengthwise if they are large. This not only makes for a more elegant presentation but also allows for better absorption of flavors from the grits.
Enhancements to Elevate Your Dish
Cajun spices
Incorporating Cajun seasoning adds a bold, savory depth to the shrimp. Add this to the shrimp just before cooking to lock in heat and complexity.
Lemon zest
Adding fresh lemon zest gives a bright, citrusy note that balances the richness of the dish. Incorporate it into the grits just before serving to brighten the overall flavor.
Smoked paprika
This spice lends a subtle smokiness that complements the sweetness of the shrimp perfectly. Stir it into the skillet just after searing the shrimp for enhanced flavor.
Garlic confit
Using garlic confit adds a mellow, sweet garlic flavor that melds well with the other ingredients. Mix this into the grits right before serving for a sweet aromatic burst.
Proper Storage and Reheating Guidelines
To store your shrimp and grits, place the components in separate airtight containers and refrigerate within two hours of cooking. The shrimp will keep for about 2-3 days in the fridge, while the grits can last for about 4-5 days, but the texture may change.
When reheating, place the grits in a saucepan over low heat and stir in a splash of chicken stock or water to restore creaminess. For the shrimp, gently reheat in a skillet over low heat, being careful not to overcook.
Utilize leftovers by transforming them into a shrimp and grit casserole topped with cheese, or incorporate the shrimp into a fresh salad for a quick, flavorful meal. Another option is to create a shrimp taco filling with the reheated shrimp, adding fresh toppings for crunch and brightness.
Answering Your Burning Questions
Can I use olive oil to cook the shrimp?
Yes, but opt for a light oil with a high smoke point like canola or grapeseed oil for searing. Olive oil can burn at high temperatures, affecting the flavor of your dish.
How long should shrimp rest after cooking?
Let the shrimp rest for about 5 minutes off the heat to allow juices to redistribute within the meat. This step enhances moisture and flavor when you’re ready to serve.
What type of shrimp is best for this recipe?
Larger shrimp, like U10 or 16-20 count per pound, are ideal for this recipe as they provide a satisfying bite and don’t overcook as easily. Smaller shrimp can dry out quickly, compromising texture.
Should I devein shrimp before cooking?
Yes, deveining shrimp is important for both aesthetics and flavor. Removing the digestive tract prevents any potential bitterness and provides a cleaner taste.
How can I make the grits creamier?
To achieve creamier grits, cook them with a mix of water and milk or cream and stir in extra butter if desired. This adds richness and a velvety texture, enhancing the dish’s overall appeal.
Cooking with Precision and Intent
Mastering Gordon Ramsay’s shrimp and grits recipe transforms an everyday dish into a restaurant-quality experience. By applying disciplined techniques and focusing on timing, you can reliably produce a result that impresses every time. Stop guessing and elevate your cooking—get in the kitchen and make it happen.